 English
 中文简体
中文简体Content
- 1 Understanding the Ingredient: The Power of Powder
- 2 Calculating the Perfect Hydration Ratio
- 3 The Autolyse Method for Purple Doughs
- 4 Step-by-Step Recipe Guide
- 5 Mastering the Bulk Fermentation
- 6 Shaping, Proofing, and Baking Conditions
- 7 Troubleshooting Common Visual and Textural Issues
- 8 Flavor Pairings and Creative Variations
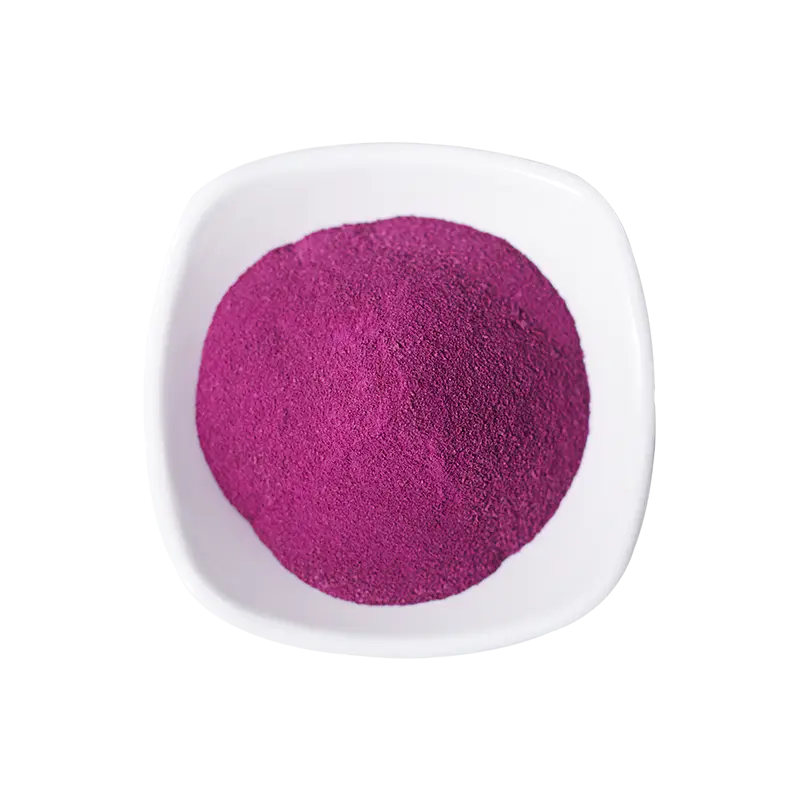
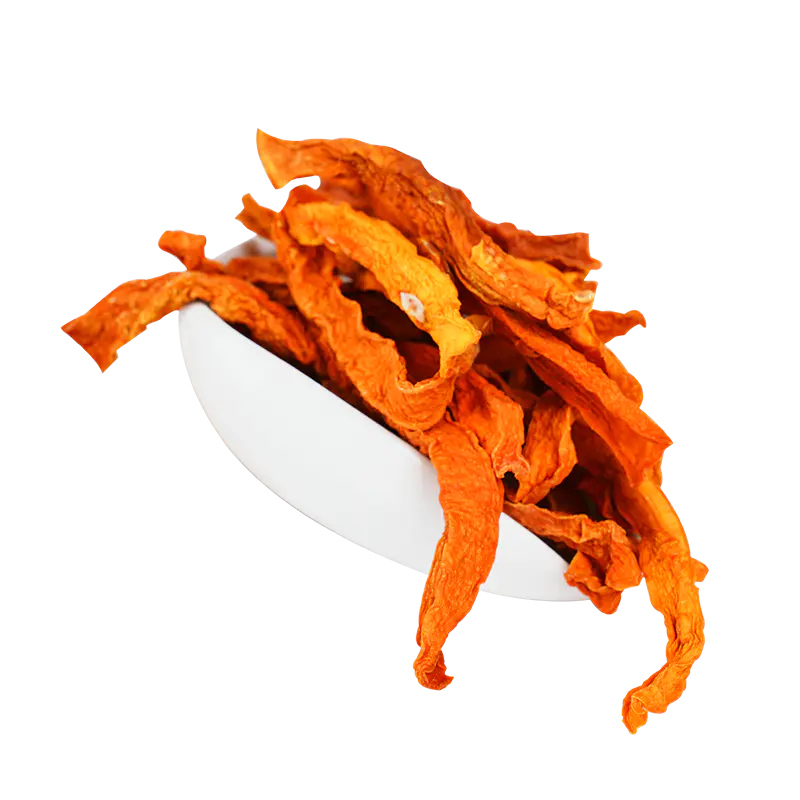
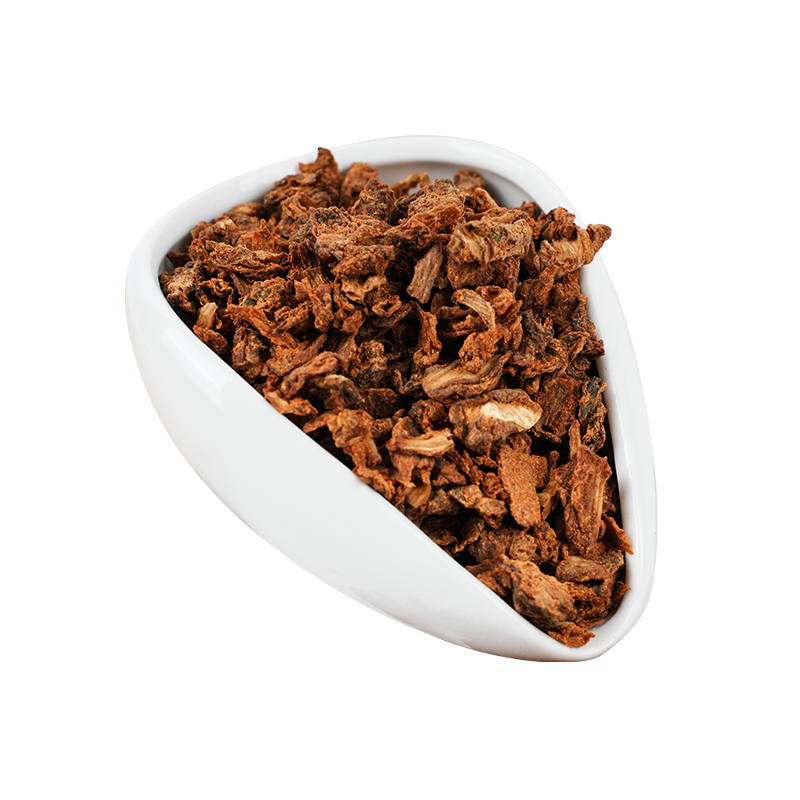
Understanding the Ingredient: The Power of Powder
Baking with dehydrated purple sweet potato is fundamentally different from using the fresh puree. This vibrant powder is a concentrated source of flavor, color, and starch. Its primary challenge in bread making is its aggressive thirst. The fine particles act like a sponge, competing with the gluten-forming proteins for water. If you simply add the powder to a standard recipe, you will end up with a dense, dry, and crumbly loaf. Success depends entirely on mastering pre-hydration. By understanding that the powder can absorb up to 3 to 4 times its weight in water, you transform a potential brick into an incredibly soft, visually stunning loaf with a subtle, earthy sweetness.
Calculating the Perfect Hydration Ratio
The single most critical step is calculating the extra water, or hydration boost. Without this, your dough will be stiff and difficult to develop gluten. A reliable starting point is a 1:3 ratio of dehydrated purple sweet potato powder to water by weight. For every 10 grams of powder you incorporate, you must add an additional 30 grams of liquid to your recipe. This hydration should be treated as a separate step before mixing the main dough. For a standard loaf using 50 grams of powder, you will need 150 grams of water just for the powder. The base dough hydration, the water relative to wheat flour, should also be high, ideally starting at 75% and climbing to 85% for experienced bakers. This total hydration creates a slack, sticky dough that yields a lacy, open crumb.
The Autolyse Method for Purple Doughs
To fully unlock the color and manage the texture, an extended autolyse with a twist is essential. Do not simply dump all ingredients into a mixer. Begin by whisking your 50 grams of dehydrated purple sweet potato powder with the calculated 150 grams of extra water. Allow this mixture to sit for 30 to 60 minutes. This process, technically a slurry hydration, ensures every starch granule is completely saturated and softened. Simultaneously, combine your bread flour and the main dough water, minus the 150 grams already used, and let it rest for the same duration. This traditional autolyse for the wheat flour kicks off gluten development without salt. When the two mixtures finally combine, they will integrate smoothly, preventing the unsightly flecks of dry powder that often plague purple breads.
Step-by-Step Recipe Guide
This formula produces a tall, visually striking loaf with a cotton-soft crumb and a deep violet hue. The process leans on high hydration, a long fermentation, and gentle handling to preserve the color and structure.
Ingredient Breakdown and Preparation
- Bread Flour: 500 grams (100%)
- Dehydrated Purple Sweet Potato Powder: 50 grams (10%)
- Water (for the powder slurry): 150 grams (30%), lukewarm
- Water (for the main dough): 250 grams (50%), cold
- Active Starter or Yeast: 100 grams (20%) ripe sourdough starter, or 7 grams instant dry yeast
- Fine Sea Salt: 10 grams (2%)
- Honey or Maple Syrup: 15 grams (3%), optional, to amplify the natural sweetness
In one bowl, whisk the powder and the 150 grams of lukewarm water until a smooth, thick paste forms. Cover and set aside. In a large mixing bowl, combine the bread flour and the remaining 250 grams of cold water. Mix until no dry bits remain, cover, and let both bowls rest for 1 hour. This dual autolyse is your insurance policy against dryness.
Mixing and Developing the Gluten Network
After the rest period, add the purple slurry to the flour mixture. It will look like a swirl of vibrant color in pale dough. Add your ripe starter or yeast and the optional honey. Mix with a wet hand or a dough hook on low speed until the color is uniform with no marbling. The dough will be extremely sticky and wet; resist the urge to add more flour. Cover and rest for 20 minutes. Scatter the salt on top, and then perform stretch and folds in the bowl for 2-3 minutes until the dough gains some strength and the salt is fully dissolved. The dough should feel supple and tacky but not sloppy.
Mastering the Bulk Fermentation
Bulk fermentation is where the purple dough builds flavor and structure. Transfer the dough to a straight-sided, lightly oiled container. Over the next 3.5 to 4 hours at a warm room temperature of around 24-25°C, perform a series of coil folds every 45 minutes. A coil fold is gentle and preserves trapped gases more effectively than a punch-down. To execute one, lift the dough from the center with both wet hands, letting the front edge drop down and tuck under, then turn the bowl 90 degrees and repeat. Stop folding when the dough holds its shape and shows a smooth, glossy surface. The dough is fully fermented when it has doubled in size, feels billowy and jiggly, and small fermentation bubbles are visible on the sides and surface.
Shaping, Proofing, and Baking Conditions
Turn the fermented dough out onto a lightly floured surface, using white rice flour to prevent the dark dough from absorbing it and turning grey. Shape it into a tight boule or an oval batard, being assertive but not rough, as tearing the gluten will cause the color to bleed irregularly during baking. Place the shaped loaf seam-side up in a well-floured banneton. Cover and proof at room temperature if you desire a stronger tang, or in the refrigerator overnight for a more nuanced flavor and a dramatic color intensification. The cold proof for 12-16 hours is highly recommended as it deepens the purple to a majestic shade.
Preheat your oven to 260°C with a Dutch oven inside for a full hour. Turn the cold dough out onto parchment paper, score confidently with a single, deep slash to control the oven spring, and transfer it into the screaming-hot pot. Bake covered for 25 minutes. The steam trapped inside is crucial for the final plump volume. Remove the lid, lower the temperature to 230°C, and bake for another 18-22 minutes. You are looking for a deep, blistered mahogany-brown crust that crackles as it cools. The internal temperature should register at least 96°C.
Troubleshooting Common Visual and Textural Issues
When a purple loaf emerges from the oven with an unexpected brown, green, or blue tinge, the cause is almost always a chemical reaction. The anthocyanins that give the dehydrated purple sweet potato its brilliant violet hue are natural pH indicators. If your tap water is hard and alkaline, the bread will trend towards a muted blue-grey. Adding a small amount of an acidic component, like lemon juice, cream of tartar, or a liquid levain that leans more acidic, stabilizes the desired pinkish-purple shade. A gummy, translucent streak near the bottom crust, however, is a sign of under-fermentation or cutting into the loaf before it has fully cooled for at least two hours. Patience is an essential ingredient.
Flavor Pairings and Creative Variations
The delicate, subtly nutty earthiness of the purple sweet potato bread pairs magnificently with both sweet and savory toppings. For breakfast, a slice toasted and slathered with coconut cream and a sprinkle of black sesame seeds echoes classic Asian desserts. It also makes a surprisingly perfect canvas for a sharp, tangy goat cheese and a drizzle of honey. For a savory lunch, try it with smashed avocado, lime zest, and flaky sea salt. You can integrate inclusions directly into the dough during the last set of stretch and folds. The following combinations work exceptionally well and respect the delicate flavor profile.
| Inclusion | Complementary Flavor | Recommended Quantity |
|---|---|---|
| Toasted Black Sesame Seeds | Nutty, Roasted Bitterness | 30 grams |
| Dried Sweetened Cranberries | Sharp, Chewy Sweetness | 80 grams |
| Toasted Walnut Pieces | Buttery, Earthy Crunch | 60 grams |
| White Chocolate Chunks | Creamy, Vanilla-rich Sweetness | 100 grams |
 Xinqian Village (Dehydrated Fruit and Vegetable Industrial Park), Duotian Street, Xinghua City, Taizhou City, Jiangsu Province, China
 +86-13852647168
